Stamp Calculator by Weight: A Creator's 2026 Shipping Guide
Use our 2026 guide to master the stamp calculator by weight. Learn to weigh packages, find rates, and collect shipping for your crowdfunding fulfillment.
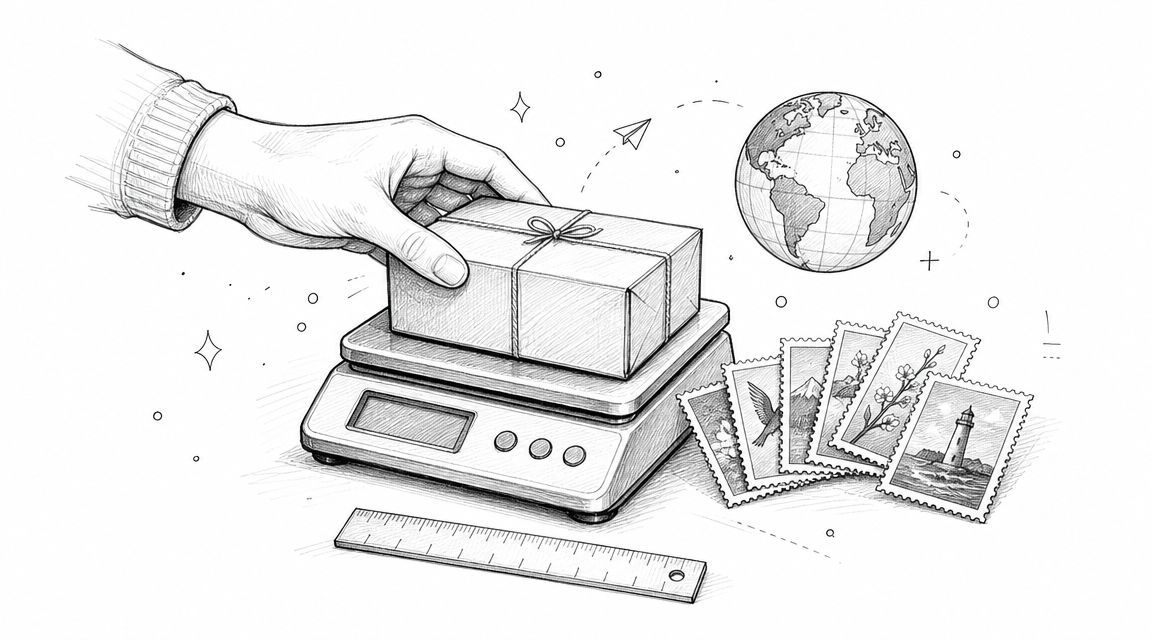
Use our 2026 guide to master the stamp calculator by weight. Learn to weigh packages, find rates, and collect shipping for your crowdfunding fulfillment.
Your campaign just funded, and the shipping tab in your spreadsheet suddenly looks more dangerous than your manufacturing bill.
That's the moment a lot of creators search for a stamp calculator by weight. It makes sense. You want a fast answer for what it costs to mail a package. The problem is that crowdfunding fulfillment rarely behaves like a single clean package going to a single address. You're usually dealing with multiple reward tiers, stretch-goal inserts, add-ons, late pledges, address changes, and backers spread across very different regions.
A simple calculator still matters. It's where most good shipping decisions start. But if you stop there, you can undercharge shipping, erase your margin, and create delays that backers remember long after they receive the product.
The first hard lesson in fulfillment is that postage is no longer a “put stamps on it” problem. It's a data problem. You need the packed weight, the final outer box size, the destination, and the service level before any calculator can give you a useful answer.

That complexity didn't come out of nowhere. The U.S. postal system moved over time from distance-based pricing toward weight-based pricing, and modern rate structures now reflect a much more detailed calculation model. The historical shift is part of why modern calculators ask for more than a weight entry, and why even future rate announcements such as the 4.8% average increase for some market-dominant mailing products scheduled for July 12, 2026 matter for planning, not just for buying postage on the day you ship, according to US postage rate history.
A first-time creator often estimates shipping from the product itself. A card deck weighs one thing. A boxed card deck with padding, insert, label pouch, and outer carton weighs something else. Fulfillment teams don't ship the prototype in your hand. They ship the finished parcel that survives sorting networks.
That gap shows up in backer expectations too. If you haven't written clear product delivery expectations, people will assume delivery dates and shipping charges were figured out with more precision than was the case.
Practical rule: treat shipping as part of product design, not a line item you calculate at the end.
For one parcel, a stamp calculator by weight is enough to get a quote. For a campaign, you need to answer harder questions:
That's why creators who look only at postage often miss the larger fulfillment cost. The shipping label is the visible expense. The expensive mistake is usually the pricing model behind it.
If your input data is wrong, every rate you calculate afterward is wrong too. That sounds obvious, but it's where most fulfillment budgets start slipping.
The minimum useful dataset is simple: final packed weight, final packed dimensions, origin ZIP code, destination ZIP code, and service choice. USPS's own tools are built around that kind of workflow, not weight in isolation, and the reason is practical. Once a parcel moves beyond simple letter logic, small changes can move it into a different pricing tier.

Use the actual shipping carton, not the product size from your manufacturer. If your board game box is snug on the shelf but ships inside a mailer or corrugated carton, the outer package is what the carrier prices.
Record these details for every SKU and every common bundle:
Actual weight
Weigh the fully packed parcel, including inserts, wrap, tape, labels, and any protective material.
Length, width, and height
Measure the final package in inches. Don't estimate from memory.
Origin and destination
Carriers price by route and service. A local shipment and a cross-country shipment won't behave the same way.
Mail class or service
Ground, priority, and expedited services can produce very different costs and delivery experiences.
USPS-linked rate data shows how sensitive pricing can be. For Zone 1 parcels, commercial prices moved from $6.03 for 8 oz. to $6.16 for 12 oz., then to $7.99 for 2 lbs., and $9.70 for 5 lbs. in a USPS postal bulletin dataset on commercial parcel pricing by weight zone. That progression is exactly why a casual guess like “it's about a pound” causes problems.
A lot of ecommerce operators learn the same lesson when they review FBA profit margins. A product can sell well and still underperform if packaging and fulfillment assumptions are loose. Crowdfunding has the same weakness, except the mistake often shows up after funding, when it's harder to correct.
A postage quote is only as accurate as the carton on the table.
Keep the process boring and repeatable:
If you need a working reference for that process, this guide on how to calculate shipping costs is useful because it frames shipping as a structured input problem rather than a last-minute checkout task.
A shipping calculator becomes useful only after you stop thinking in terms of “my item weighs X” and start thinking in terms of “this specific parcel, going to this destination, via this service.”
That distinction matters because carriers don't price a 1 lb box as a universal object. They price a specific shipment moving through a specific network. USPS and third-party calculators require origin and destination ZIP codes, weight, dimensions, and service choice because zone and service level materially affect price, as explained in this overview of shipping calculator inputs and zone-based pricing.
For domestic orders, your main job is comparison. Run the same parcel through at least a few representative destinations before you lock your shipping fee table.
Use a small benchmark set such as:
This tells you very quickly whether your planned fee is conservative or dangerous.
| What you enter | Why it matters |
|---|---|
| Packed weight | Determines the base pricing tier |
| Dimensions | Can affect service eligibility and final billed weight |
| Origin ZIP | Starts the zone calculation |
| Destination ZIP | Changes the route and price |
| Service selection | Changes speed, price, and package rules |
International shipping adds two layers of risk. The first is price volatility by destination. The second is compliance. Even when the package itself is straightforward, customs details can slow delivery or create charges the backer didn't expect.
The practical move is to separate international shipping into clear groups inside your fulfillment plan. Don't treat “rest of world” as a single lane unless your budget can absorb surprises.
If domestic shipping is a calculator problem, international shipping is a calculator plus paperwork problem.
Creators also need to know when customs documentation applies and how product descriptions should be prepared for shipment data. This primer on customs documentation is helpful for avoiding the common mistake of collecting addresses without collecting the shipment details your logistics partner still needs later.
For creators, printed labels usually make more sense than physical stamps. Labels are easier to batch, easier to audit, and easier to pass into warehouse workflows. Physical stamps still have a place for occasional mailing, but they don't scale well when you're sending reward parcels in volume.
What works is running real packaged samples through calculators, saving the outputs by region, and building your shipping fee model from those tested examples. What doesn't work is quoting every backer from a single sample parcel and hoping the differences average out.
The most expensive shipping mistake I see from new creators isn't a bad postage lookup. It's using the right scale and the wrong box.
A carrier may bill your parcel based on actual weight or dimensional weight, whichever is greater. That means a light but bulky package can cost more than a dense, heavier package. Crowdfunding projects trigger this all the time because reward bundles often expand in awkward ways after stretch goals, promo packs, or add-ons are finalized.

The workflow starts with the parcel's dimensions. Measure length × width × height in inches, and calculate cubic volume. If the package exceeds 1 cubic foot, or 1,728 cubic inches, USPS dimensional weight can apply. USPS uses a divisor of 166 for Priority Mail, Priority Mail Express, and Non-Lightweight Parcel Select. UPS and FedEx use 139. The billable weight is then the greater of the actual scale weight or DIM weight, according to this explanation of dimensional weight calculation methods.
That's the rule. The consequence is what hurts.
A miniatures set in a large presentation box might feel light in hand, but if the carton is oversized, the carrier may price it like a much heavier shipment. A smaller, denser hardcover reward can sometimes ship more cheaply because it takes up less space.
The easiest savings rarely come from hunting for a magical cheap rate. They come from packaging discipline.
If you want a second calculator to sanity-check parcel volume, this guide to calculate cubic weight is a practical companion to carrier tools.
Here's a visual walkthrough of the issue:
DIM weight becomes painful when creators set shipping before packaging is finalized. That's backward. Packaging determines rate behavior, not the other way around.
A useful reference for early planning is this cubic calculator for shipping, especially when you're comparing package concepts before you commit to one carton size across the campaign.
Oversized rewards don't just cost more to ship. They make your original shipping promise less reliable.
A stamp calculator by weight solves a transaction. Crowdfunding fulfillment solves a system.
That system includes reward logic, add-on logic, address collection, tax or VAT handling, destination grouping, carton selection, and shipment exports that your warehouse can use. The weak spot for most creators isn't calculating a single package. It's modeling how weight brackets, regional shipping zones, and add-on-driven parcel growth affect margin across the full campaign, as noted in this look at shipping calculators versus fulfillment planning.

A basic survey works when every backer gets one product and one shipping lane. Most campaigns don't stay that simple for long.
You may need to handle:
A plain survey can collect text. It usually can't model those interactions cleanly.
The native Kickstarter pledge manager experience is like Amazon. It's familiar, controlled, and fairly fixed in how the checkout flow behaves.
A dedicated pledge manager is more like Shopify. You get more control over how orders are structured, how fees are collected, and how post-campaign selling works. That matters when your campaign needs custom shipping logic instead of a one-size-fits-all survey.
One option in that category is PledgeBox, which can send backer surveys without an upfront survey fee and only charges 3% of upsell revenue if there's any upsell. For creators who need shipping logic tied to order contents, that matters because the platform supports shipping fee methods such as SKU-weight-based rules and package-weight rules, rather than treating shipping as a flat afterthought.
A workable post-campaign setup usually follows this sequence:
Define shipping groups
Build regions based on real fulfillment lanes, not broad guesses.
Map products to shipping behavior
Base pledge, expansion, add-on set, and deluxe tier should each have tested package assumptions.
Collect addresses after packaging assumptions are stable
Late changes create support burden and bad fee corrections.
Collect shipping with the survey
This keeps the project from absorbing avoidable postage costs.
Export clean fulfillment data
Your warehouse should receive shipment-ready information, not a manually repaired spreadsheet.
Good fulfillment systems reduce manual exceptions. That's where creators save time and protect margin.
Here's the practical split I'd give any first-time creator:
| Works | Usually fails |
|---|---|
| Testing real cartons before setting shipping fees | Estimating from product weight alone |
| Charging by regional groups and package logic | One global shipping fee |
| Collecting shipping after the campaign with proper rules | Bundling guessed shipping into the pledge price |
| Using a system that handles add-ons and order changes | Tracking changes manually in spreadsheets |
| Exporting standardized fulfillment data | Rebuilding order data by hand before warehouse handoff |
The biggest mindset shift is this: stop treating shipping as a checkout event. Treat it as an operational model that starts while your campaign is still live.
If you want a clean post-campaign phase, keep the process grounded in tested package data and simple operational rules.
Start with the physical parcel. Build and weigh every meaningful reward combination in its final packaging. If you have a base pledge, a deluxe pledge, and several common add-on combinations, each one needs its own packed profile. That gives you real inputs for a stamp calculator by weight instead of hopeful estimates.
Then pressure-test the package itself. Check whether box size is pushing you toward dimensional billing. If the parcel shape feels wasteful on the packing table, it will usually feel expensive in the shipping quote too.
Creators who stay focused on “how much is this stamp” usually end up doing emergency fulfillment math later. Creators who think in terms of systems usually ship with fewer corrections, fewer undercharges, and fewer support tickets.
That's the primary use of a stamp calculator by weight. It isn't just a label tool. It's the first checkpoint in a broader fulfillment workflow that has to hold up across hundreds or thousands of orders.
Shipping gets easier when every fee is tied to a tested package, a destination rule, and a survey flow that can actually collect the right amount.
If you're preparing your first campaign, don't wait until surveys go out to figure this out. Build your shipping model early, test it with real cartons, and collect fees through a process that matches how crowdfunding orders behave.
If you need a post-campaign system that can collect shipping, manage add-ons, and handle backer surveys without charging upfront survey fees, take a look at PledgeBox. It's a practical fit for creators who want to move from one-off shipping calculations to a structured fulfillment workflow, and it only charges 3% on upsell revenue if upsells are used.
The All-in-One Toolkit to Launch, Manage & Scale Your Kickstarter / Indiegogo Campaign