 PledgeBox
How to Build Testing Protocols for Crowdfunding Products
Build reliable testing protocols for crowdfunding products from prototype to fulfillment. Stages, checklists, templates, and beta testing tips inside.
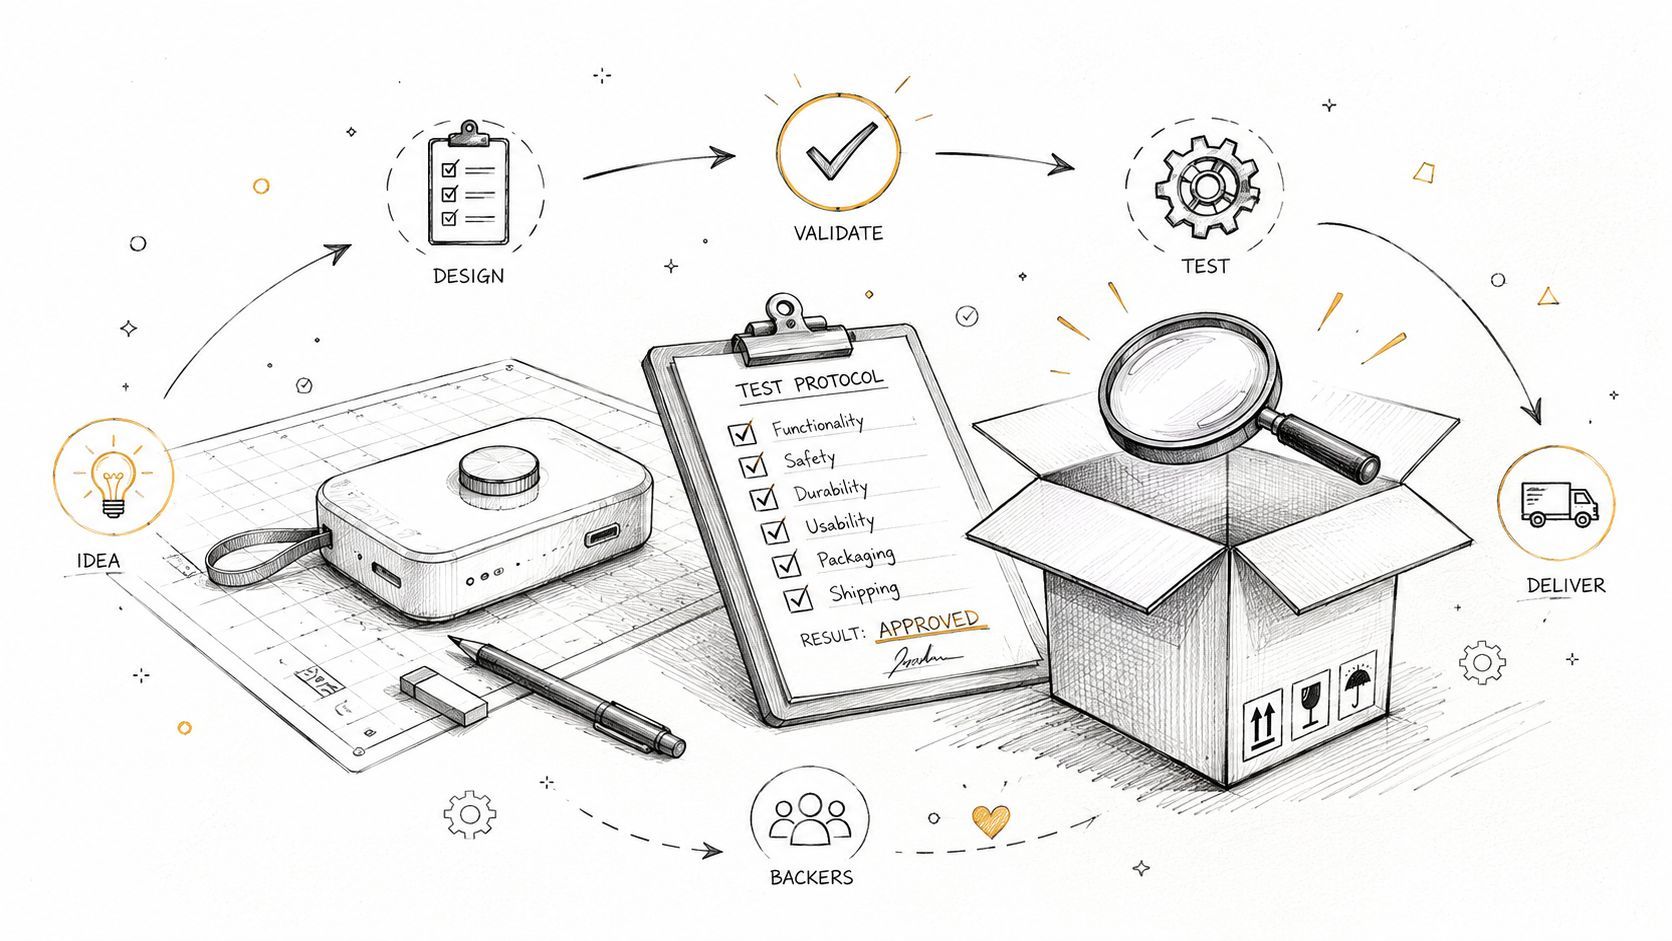
Build reliable testing protocols for crowdfunding products from prototype to fulfillment. Stages, checklists, templates, and beta testing tips inside.
You've funded the campaign, approved the prototype, and opened the spreadsheet that turns a product into thousands of separate shipments. Then a factory sample arrives with a loose connector, the printed insert names the wrong accessory, or the firmware fails after the device has been packed. The product looked convincing on camera. It wasn't ready for a production line, a freight network, or a backer's hands.
A practical testing protocol closes that gap. It turns assumptions into documented requirements, repeatable tests, acceptance criteria, named owners, and controlled decisions. The same discipline used in competent laboratories can work at a creator's workbench, factory floor, warehouse, and pledge survey.
A hardware creator can spend months refining industrial design while treating testing as a final inspection. The campaign funds, the factory builds against a moving specification, and the first serious feedback arrives when finished units reach backers. Cosmetic defects are suddenly customer-service tickets. Crushed cartons become replacement shipments. A firmware bug becomes a support queue because nobody tested the exact build, packaging configuration, and shipping sequence together.
The failure usually starts earlier than the defect itself. The team tests a prototype on a desk, but not after repeated handling. It confirms that a feature works, but doesn't define how consistently it must work across units. It approves a render and a sample, but never records which material, supplier, adhesive, firmware build, or packaging revision the sample used.
Practical rule: If a requirement lives only in a conversation, it isn't controlled well enough to support a production decision.
The dangerous space sits between “works in the prototype” and “survives fulfillment.” A product can function perfectly in a creator's studio and still fail when a manufacturer substitutes a component, an operator installs a seal inconsistently, or a shipping carton experiences vibration and compression. Software creates the same problem. A feature may pass on the developer's phone while failing on a backer's older device, network, or firmware path.
A written protocol is inexpensive compared with rework, replacement inventory, delayed fulfillment, and damaged trust. It doesn't need laboratory equipment for every product. It does need enough precision that another person can repeat the test, understand the result, and make the same pass-or-hold decision.
This article focuses on that operating system for quality. It won't cover campaign marketing. It will show how to connect prototype validation, pilot production, pre-shipment checks, usability testing, packaging review, and backer feedback into one defensible workflow.
A testing protocol is a controlled document that states five things: what gets tested, how it gets tested, who performs it, what counts as a pass, and what happens after a failure. A checklist might say “test charging.” A protocol identifies the approved charger, the firmware build, the test sequence, the units selected, the recorded measurements, the acceptance threshold, and the disposition of a failed unit.
That structure reflects the logic behind ISO/IEC 17025, the global standard for testing and calibration laboratories. ISO describes the standard as covering competence, impartiality, and consistent operation, with an emphasis on valid results and measurement traceability. Its scope includes standard, non-standard, and laboratory-developed methods, which maps well to crowdfunding products that combine established checks with custom tests. ISO's overview of ISO/IEC 17025 explains why procedural compliance alone isn't enough. A test must produce evidence that people can trust and reproduce.
For a crowdfunding product, the “lab” may be a workbench, a contract manufacturer, a third-party inspection team, or a selected group of backers.
The protocol should also distinguish a product requirement from an observation. “The button feels stiff” may be useful feedback, but it isn't a pass/fail criterion until the team defines what acceptable operation means.

A checklist records that someone touched a task. A protocol produces a result that supports a decision. If “inspect packaging” is checked off without carton revision, sample selection, defect definitions, photographs, or disposition, the team has activity evidence, not quality evidence.
Good protocols share three properties:
Treat the launch as three gates, not one long testing phase. Each gate answers a different question and has a different owner.
The creator owns this gate. Test representative samples against the product shown to backers, including core functions, physical interfaces, controls, software flows, charging, assembly, and obvious misuse. The purpose is to expose design weaknesses while changes remain relatively cheap.
The output should include a frozen test sample, a requirements matrix, a defect log, photos or recordings, and a list of unresolved risks. If the prototype only works when one experienced person handles it carefully, mark that as a design failure or a training dependency. Don't pass it because the creator knows the trick.
The manufacturer owns the process, while the creator retains approval authority. The pilot should challenge the production method, tooling, work instructions, component substitutions, assembly sequence, inspection points, and packaging flow. The relevant question isn't whether one sample works. It's whether the factory can make the same product repeatedly within agreed tolerances.
Record yield, defect type, rework, operator instructions, component lots, and process changes. The pilot gate should also confirm that the factory's inspection method matches yours. If the manufacturer calls a cosmetic defect acceptable and your backers won't, the disagreement belongs in the specification before volume production.
A qualified inspection party, internal or external, should sample finished units at the warehouse or final packing location. This gate targets issues that earlier testing can't fully expose, including shipping damage, missing accessories, incorrect labels, wrong language inserts, packaging revisions, and supplier substitutions.
The inspection report should identify the sampled cartons and units, show evidence for defects, and state whether the shipment is released, held, or released with a documented deviation. Sampling isn't a substitute for a sound production process. It's the final control against escape.

A short decision matrix keeps optimism from overriding evidence:
| Gate | Owner | Greenlight | Iterate or adjust | Hold |
|---|---|---|---|---|
| Prototype validation | Creator | Core requirements pass and known risks have owners | Design or usability issue is recoverable | Safety, core-function, or unknown failure remains |
| Pilot production | Manufacturer with creator approval | Process repeats within agreed tolerances | Tooling, work instruction, or component issue needs correction | Defect trend threatens volume quality |
| Pre-shipment QA | Inspection party | Finished goods, packaging, and records meet release criteria | Isolated rework is controlled and verified | Critical defect, wrong configuration, or unresolved shipment risk appears |
Keep the gate decision separate from the test result. A failed test may trigger rework. A shipment should never move because the team feels too committed to the schedule.
The right test depends on the risk you're trying to retire. Prototype work should prioritize design and user interaction. Pilot work should test process consistency. Pre-shipment QA should focus on finished goods, configuration, packaging, and documentation.
For usability, define each task, let participants attempt it without coaching, and record whether they complete it. The Nielsen Norman Group guidance on task success describes task success as the simplest usability metric. A recent usability guide cited there treats below 70% task completion as a serious usability problem requiring immediate attention. An academic benchmark pattern showed 100% completion for one task, 80% for two tasks, and 40% for the weakest task, demonstrating how one bottleneck can hide behind a generally acceptable experience. Use the figures as diagnostic thresholds, not as a claim that every product needs the same target.
| Test type | Prototype stage | Pilot production stage | Pre-shipment stage |
|---|---|---|---|
| Functional test | Confirm each core function, interface, power path, and software flow on recorded sample units | Repeat the same scripted sequence across production units and log failures by batch and operator | Verify the finished configuration, accessories, firmware, and final settings before release |
| Safety and regulatory checks | Identify applicable requirements and test design risks before tooling is locked | Confirm production materials, components, labels, and assembly controls match approved evidence | Review finished labels, warnings, declarations, and required records against the released configuration |
| Usability task completion | Test setup, primary use, recovery, and maintenance tasks without coaching | Compare task failures across operators and production samples | Run a final user-facing check on packed units, instructions, and actual included accessories |
| Packaging drop and vibration | Explore weak points in the proposed pack and protect fragile interfaces | Validate the production carton, inserts, seals, and packing sequence | Sample packed finished goods for crush, abrasion, movement, missing parts, and transit damage |
| Labeling and documentation | Confirm terminology, diagrams, version references, and safety instructions | Check printed materials against the approved revision at the line | Match every sampled unit to the correct insert, label, language, barcode, and reward configuration |
| Aesthetic and cosmetic checks | Define acceptable surfaces, seams, color, finish, and visible variation | Establish defect samples and inspect repeatability against the approved master | Inspect finished goods under consistent conditions and classify cosmetic defects by severity |
Record the same fields for every unit: unit ID, batch, revision, operator, date, environment, test result, evidence, and defect severity. A pass threshold without a sample definition is incomplete. Decide which units are tested, how they're selected, and whether a failure triggers expanded inspection.
For online experiments, don't improvise the statistical rules after viewing the results. MetricGate's A/B testing guidance recommends pre-registering the primary metric, calculating sample size before launch, avoiding early stopping, and accounting for multiple comparisons. It warns that peeking, multiple comparisons, and poor assignment can inflate false positives to 50% or higher despite a nominal 5% alpha, so a crowdfunding team testing onboarding or checkout should define the hypothesis, primary metric, sample plan, and stopping rule first.
A pledge manager can be a payment extension, a survey instrument, or both. The practical distinction is whether you only need to collect final choices and payment, or whether you want to segment backers, ask structured product questions, and connect responses to fulfillment data.
Kickstarter's Pledge Manager has no upfront cost, but Kickstarter says its usual fees apply to payments made inside the manager. Its fee information states that this includes a 5% platform fee on funds other than taxes, plus Stripe's variable card-processing fee, roughly 3% to 5% on the full payment. Kickstarter's Pledge Manager fee explanation is the relevant reference when you're modeling post-campaign collections.
PledgeBox is free to send the backer survey and only charges 3% of upsell revenue if there's any, including revenue collected through surveys from shipping fees, taxes or VAT, and add-on products. Its pricing page also states that a campaign without add-on upsells can use the platform without a platform fee. PledgeBox's pricing details separate the survey itself from revenue-generating transactions.

Kickstarter's native manager works well as a lightweight checkout extension for a campaign already centered on Kickstarter. PledgeBox provides a broader post-campaign survey and store layer, which can support reward choices, addresses, add-ons, and embedded product questions.
PledgeBox's own comparison frames the distinction this way: Kickstarter's native pledge manager is like Amazon, while PledgeBox is like Shopify. In that framing, creators import backers, build surveys, collect addresses and reward choices, and send surveys for $0, with a 3% commission on upsell revenue if any is generated. The comparison of Kickstarter surveys and third-party pledge managers provides more context for choosing between a native extension and a more configurable layer.
For beta testing, the important question is data design. Can the survey capture firmware version, device type, fit, accessory preference, consent to receive a test unit, and structured defect categories? Either platform can collect information in some form, but the amount of segmentation, workflow control, and export work differs.
A backer survey shouldn't stop at name, address, and reward selection. Treat it as the intake form for a distributed test group, with each answer tied to a product configuration and a decision you may need to make.
Start with stable fulfillment fields, then add test-specific fields:
Use controlled answer choices wherever possible. A free-text field can explain a failure, but it shouldn't be the only way to classify one. Ask for the observed condition first, then invite detail: “Which task failed?” followed by “What happened?” and “What did you expect?”
A creator might invite a selected group of 20 to 50 beta units only when that quantity is supported by the available inventory and protocol plan. The selection criteria should be explicit, such as prior experience with similar products, willingness to report structured feedback, device diversity, or use in a relevant environment. Don't call everyone a beta tester if only a subset receives a test configuration.
Keep beta inventory separate from retail inventory. Record the unit identifier, software build, accessory bundle, dispatch date, survey response, reported defect, and final disposition. When the retail unit ships, state clearly whether it replaces the test unit, supplements it, or uses a later configuration.
PledgeBox's Backer Tester discussion is useful as a model for treating backer participation as an intentional testing activity rather than an informal request for opinions. The important operating principle is broader than any platform: every tester needs a defined task, a controlled build, a response format, and a path from finding to corrective action.
PledgeBox's free survey tier makes an instrumented pilot financially possible for small campaigns, but the survey still needs ownership. Assign someone to review responses, classify defects, confirm reproducibility, and decide whether a finding changes the specification, support content, or shipment release.
Use one master workbook with separate tabs for requirements, test cases, units, defects, decisions, and change history. Each test case should contain: test ID, requirement, method, sample selection, acceptance criteria, owner, evidence location, result, and approval.
Prototype stage
Pilot production
Pre-shipment QA
For production-specific methods, QA methods for production offers useful background on organizing manufacturing quality controls. Apply the same principle to crowdfunding: the inspection method must connect to a requirement and produce evidence, not just a signature.
The sample plan should reflect risk and stage. A small pilot may use a sample around 5% to 8% of the run of production, while pre-shipment inspection may use an agreed AQL sampling plan. Treat those as planning patterns, not universal acceptance rules. Define the actual sample and threshold in the purchase specification before inspection begins.
A defect record can use this compact template:
| Field | Entry |
|---|---|
| Defect ID | Unique reference |
| Unit and batch | Traceable identifiers |
| Requirement or test ID | The control that failed |
| Observation | What happened, without interpretation |
| Severity | Critical, major, or minor according to your specification |
| Evidence | Photo, video, reading, or response record |
| Containment | Quarantine, rework, stop, or monitor |
| Root-cause owner | Named person or supplier |
| Verification | Retest result and approval |
Review pilot defects daily and pre-shipment findings twice weekly, unless a critical failure requires an immediate hold. Run a friends-and-family round before the formal pilot, lock the specification before production starts, and treat backer-reported defects as structured data rather than a complaint inbox.
Your process documentation standards should make every result traceable from requirement to release decision. That is what turns a checklist into a reproducible, measurable, stage-specific testing protocol.
PledgeBox gives creators a way to send structured backer surveys for free, collect product and fulfillment data, and connect beta feedback with reward choices and upsells, with only a 3% charge on upsell revenue if there's any. Visit PledgeBox to set up a survey workflow that turns backer input into documented testing evidence before your product reaches full fulfillment.
PledgeBox
The All-in-One Toolkit to Launch, Manage & Scale Your Kickstarter / Indiegogo Campaign